
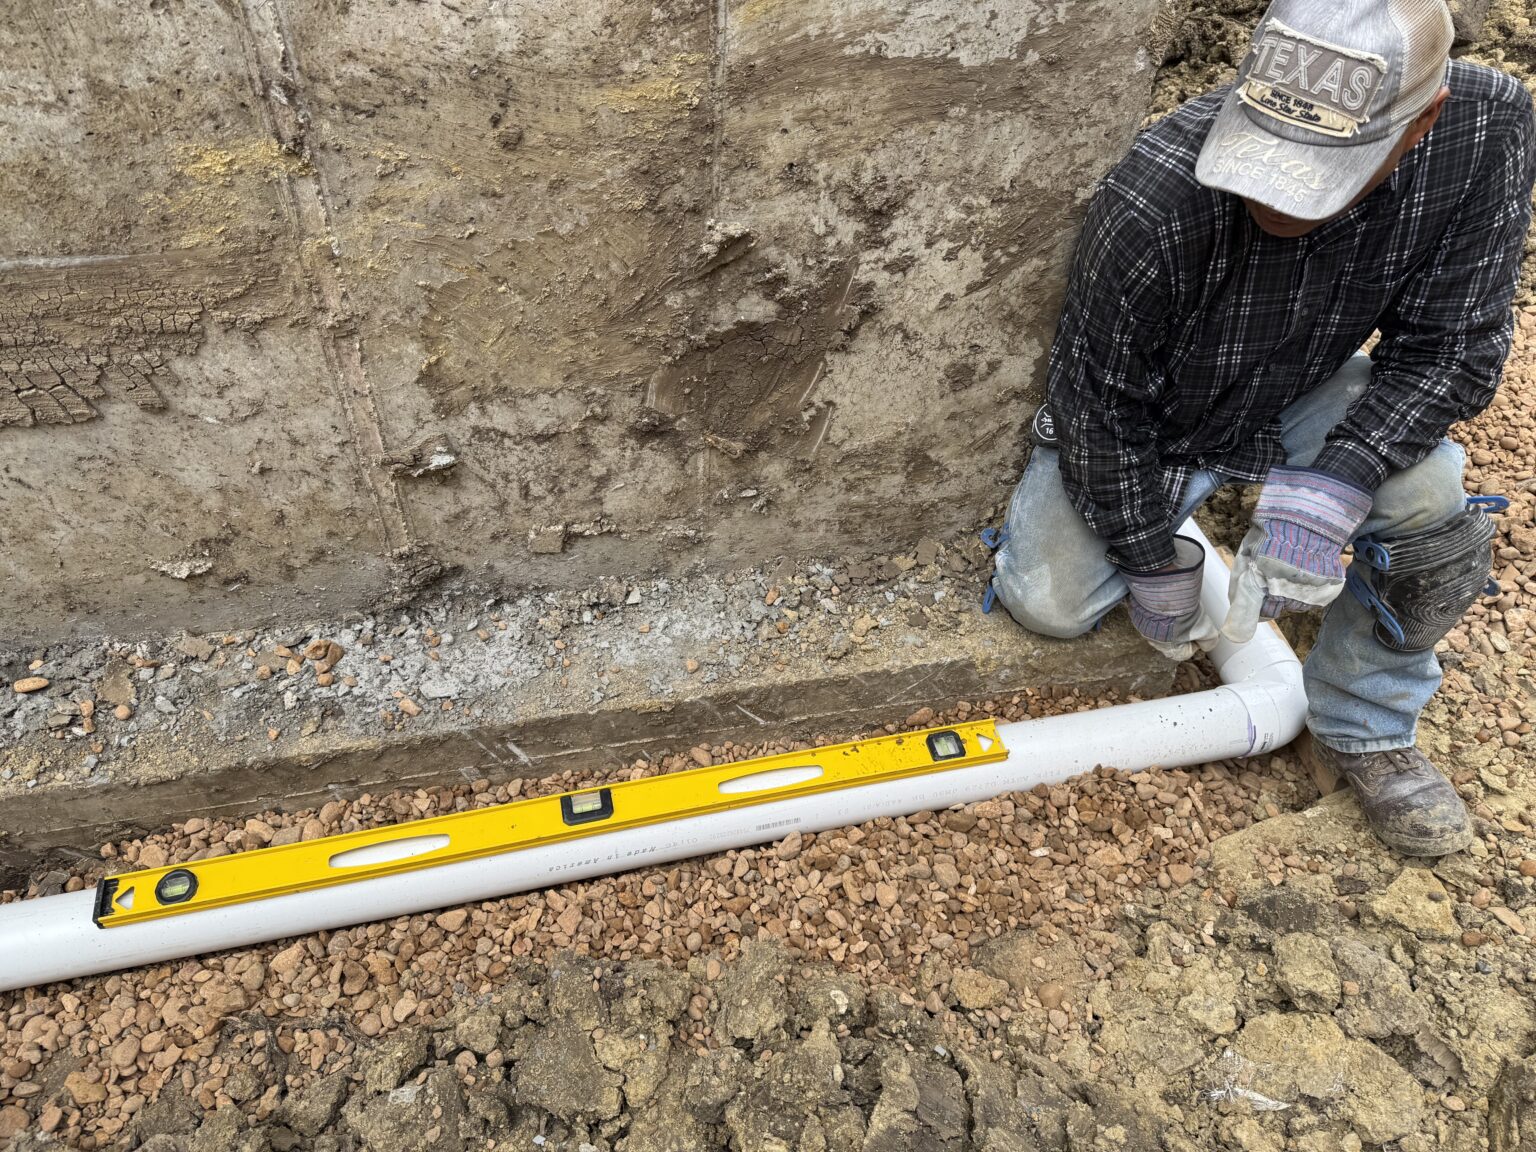
A French drain is a valuable drainage solution that effectively redirects water away from unwanted areas, such as basements and foundations. This system is particularly useful in preventing water damage and maintaining the structural integrity of buildings. Whether dealing with a poorly drained yard or a waterlogged basement, installing a French drain can be an effective way to address these issues and protect your property from potential water damage. This guide provides detailed instructions on how to successfully install a French drain, ensuring optimal performance and longevity.
Understanding the Basics of a French Drain
A French drain is essentially a trench filled with gravel or rock, containing a perforated pipe that redirects surface water and groundwater away from a specific area. Its design leverages gravity to guide water away from problem areas and is often used to prevent flooding and soil erosion. To fully understand the intricacies of these systems, find out more about this approach.
Key Components of a French Drain
- Gravel: Acts as a filtering layer to prevent debris from clogging the pipe.
- Perforated Pipe: Collects and redirects water through the drainage system.
- Geotextile Fabric: Prevents soil from entering the gravel and pipe, ensuring the system remains unblocked.
Step-by-Step Guide to Installation
Planning and Preparation
Before installation, it is crucial to plan the layout of the French drain. Determine the best location by identifying low spots and areas where water tends to pool. Remember to check for underground utilities before digging. For more planning insights, explore advanced guides and tips.
Materials and Tools Required
- Shovel and spade
- Gravel or crushed stone
- Perforated drainage pipe
- Geotextile fabric
- Wheelbarrow
- Measuring tape
Installation Process
- Digging the Trench: The trench should be about 18-24 inches deep and 9-12 inches wide. Ensure the trench slopes slightly downward to facilitate water flow.
- Lining the Trench: Lay the geotextile fabric along the bottom and sides of the trench, leaving enough fabric to wrap over the top of the gravel.
- Adding Gravel: Fill the bottom of the trench with a few inches of gravel to create a base for the pipe.
- Positioning the Pipe: Place the perforated pipe on top of the gravel, ensuring the holes face downward.
- Filling with Gravel: Add more gravel on top of the pipe until it is just below ground level.
- Wrapping with Fabric: Fold the geotextile fabric over the gravel to prevent soil intrusion.
- Covering the Trench: Fill the remaining space with soil or sod to blend the trench with the surrounding landscape.
Maintenance and Troubleshooting
Regular maintenance is essential to keep the French drain functioning effectively. Periodically check for debris and sediment build-up that could obstruct water flow. For expert maintenance strategies, discover expert strategies here.
Common Issues and Solutions
- Clogging: Regularly inspect the outlet for blockages and clear any debris.
- Sagging Pipe: Ensure the trench is adequately sloped and the pipe is properly supported.
- Soil Erosion: Reinforce areas around the drain with additional gravel or vegetation to prevent erosion.
Installing a French drain is a practical solution for managing water drainage issues and safeguarding property from potential damage. Proper installation and regular maintenance will ensure that the system remains efficient and effective over time. For tailored solutions to meet specific drainage needs, learn about our tailored solutions.
